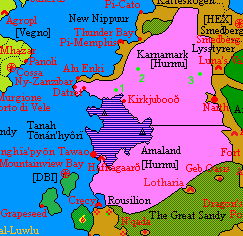
Hurmu Keltian boundary conflicts
From MicrasWiki

|
This article or section is a work in progress. The information below may be incomplete, outdated, or subject to change. |
| Hurmu Keltian boundary conflicts | |||||||
|---|---|---|---|---|---|---|---|
| Part of Hurmudan boundary conflicts | |||||||
 Karnamark's annex map |
|||||||
|
|||||||
| Belligerents | |||||||
| Commanders and leaders | |||||||
| None | Unknown | ||||||
| Units involved | |||||||
| |||||||
| Strength | |||||||
| Unknown | Unknown | ||||||
| Casualties and losses | |||||||
| A few | Hundreds of | ||||||
